Transforming newly built or renovated spaces into spotless welcoming environments.
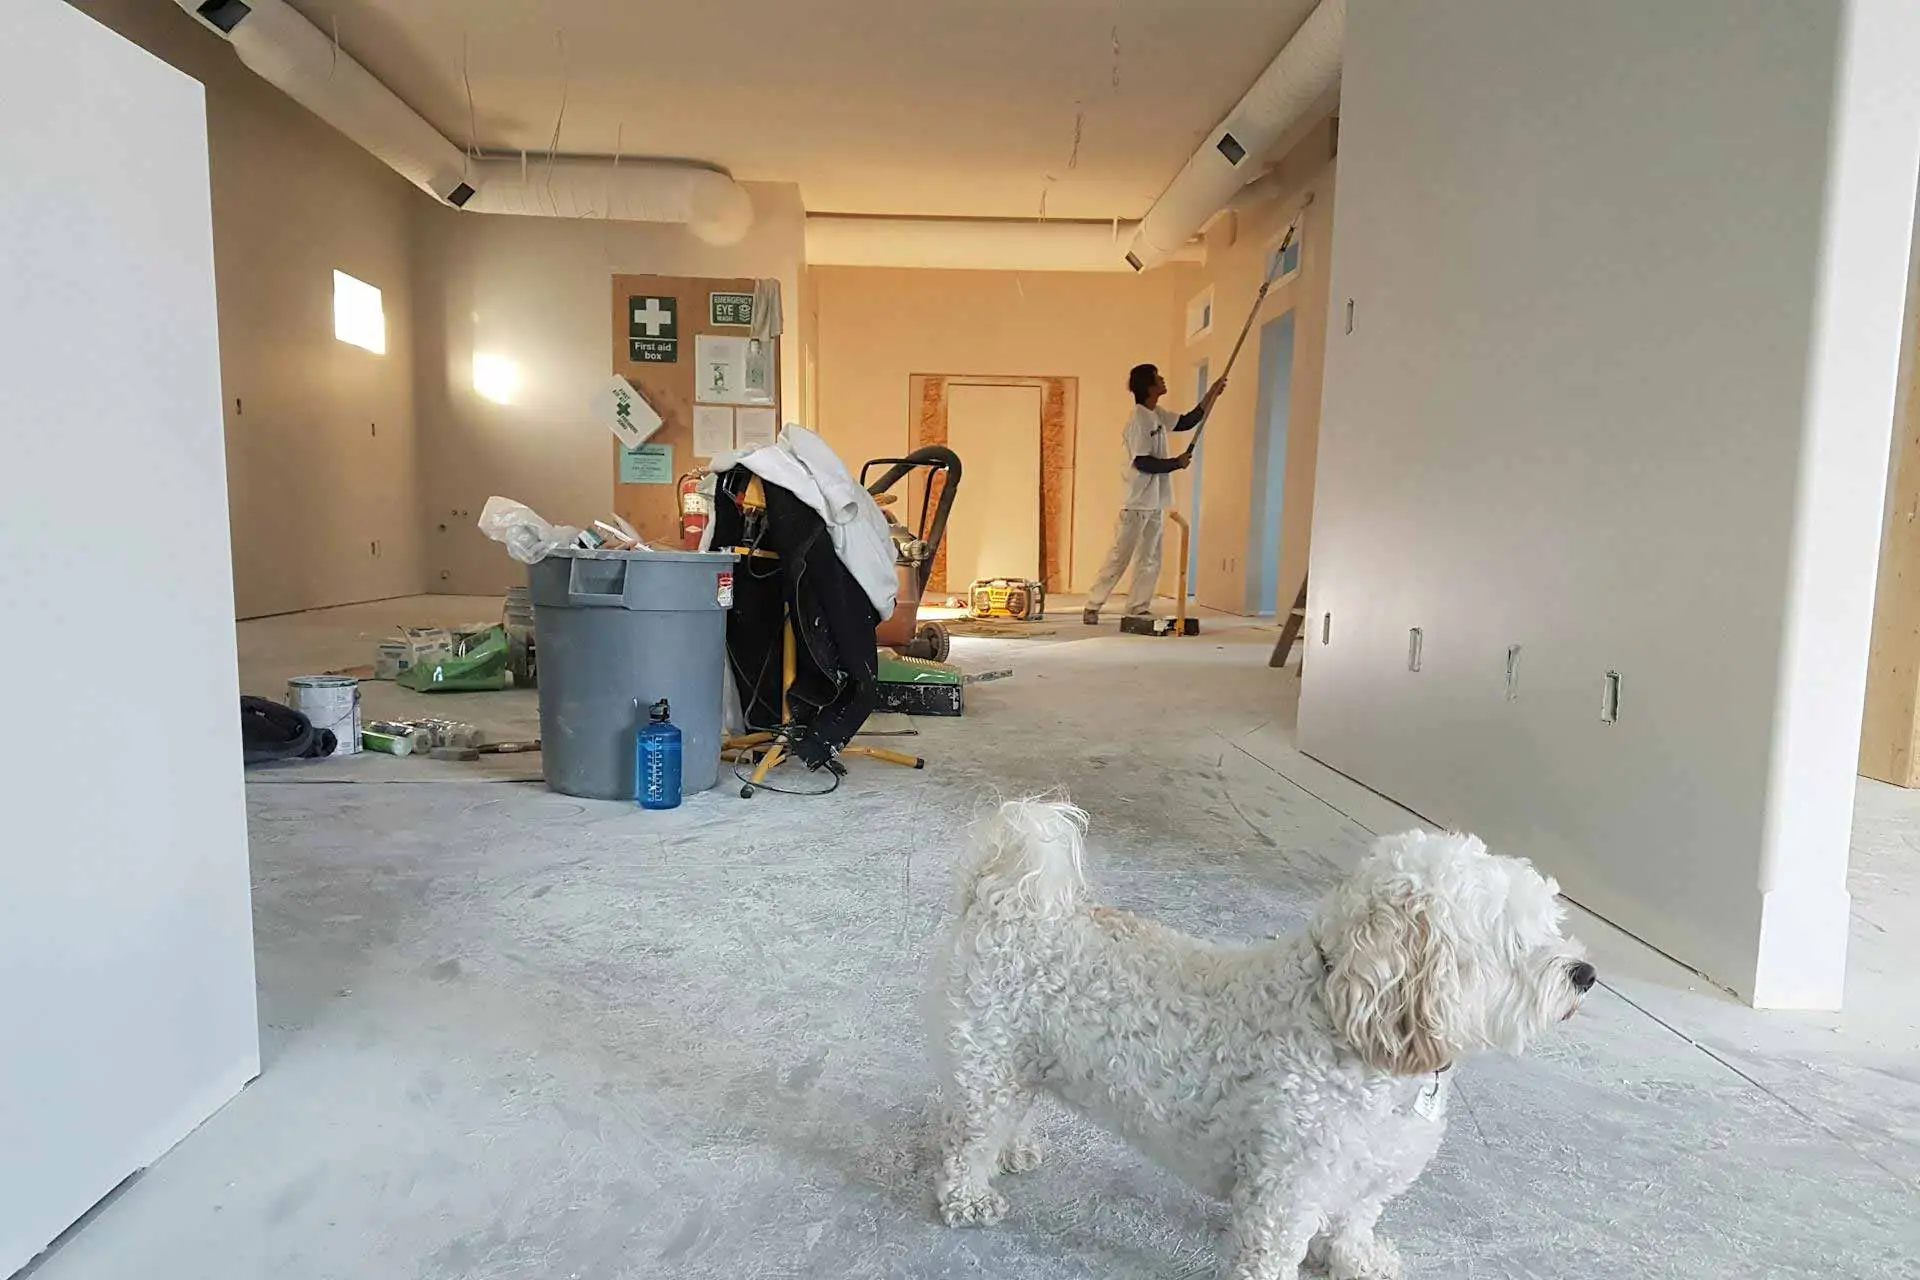
No More Chores is your trusted partner for professional post-construction cleaning in Toronto and nearby areas. We specialize in turning newly built or renovated spaces into clean, safe, and welcoming environments.
Our goal is to ensure your property is ready for use. Whether you are a contractor, developer, or homeowner, we tailor our post-construction cleaning services to fit your project needs. We also deliver the best results.
Post-construction cleaning requires expertise. Dust, debris, and leftover materials can make any space unsafe and unpleasant. Our trained cleaners use advanced tools and proven methods to remove buildup and restore cleanliness.
Here’s why clients choose us:


Grace and her team we very thorough and accommodating. They were able to fit us in on a tight timeline for a post renovation clean. Happy with the results.

Very satisfied with their service. Amazing job done after renovation mess. Will use their service again soon.

Very thorough clean! Friendly and professional! Would highly recommend them! Will use again.

We booked No More Chores for a post-construction clean. The cleaning team was excellent. They didn’t miss a thing. I was especially impressed by the detail and care that went into cleaning our window screens and baseboards.

No More Chores cleaned my home after a renovation and did a terrific job. Subsequently I hired them to come every two weeks for a standard cleaning. I've been very happy with the service; they are quick, thorough, and very professional.

Contacted for a post renovation clean. They were quick, efficient and stayed in communication with me during the process which was very helpful. Great job!

Toronto is experiencing a boom in renovations and new constructions. This growth has led to a rising demand for professional cleaning services. At No More Chores, we’re proud to support this growth. We do so by offering reliable, efficient, and customer-focused cleaning solutions.
Hiring a professional team for post-construction cleaning in Toronto offers:
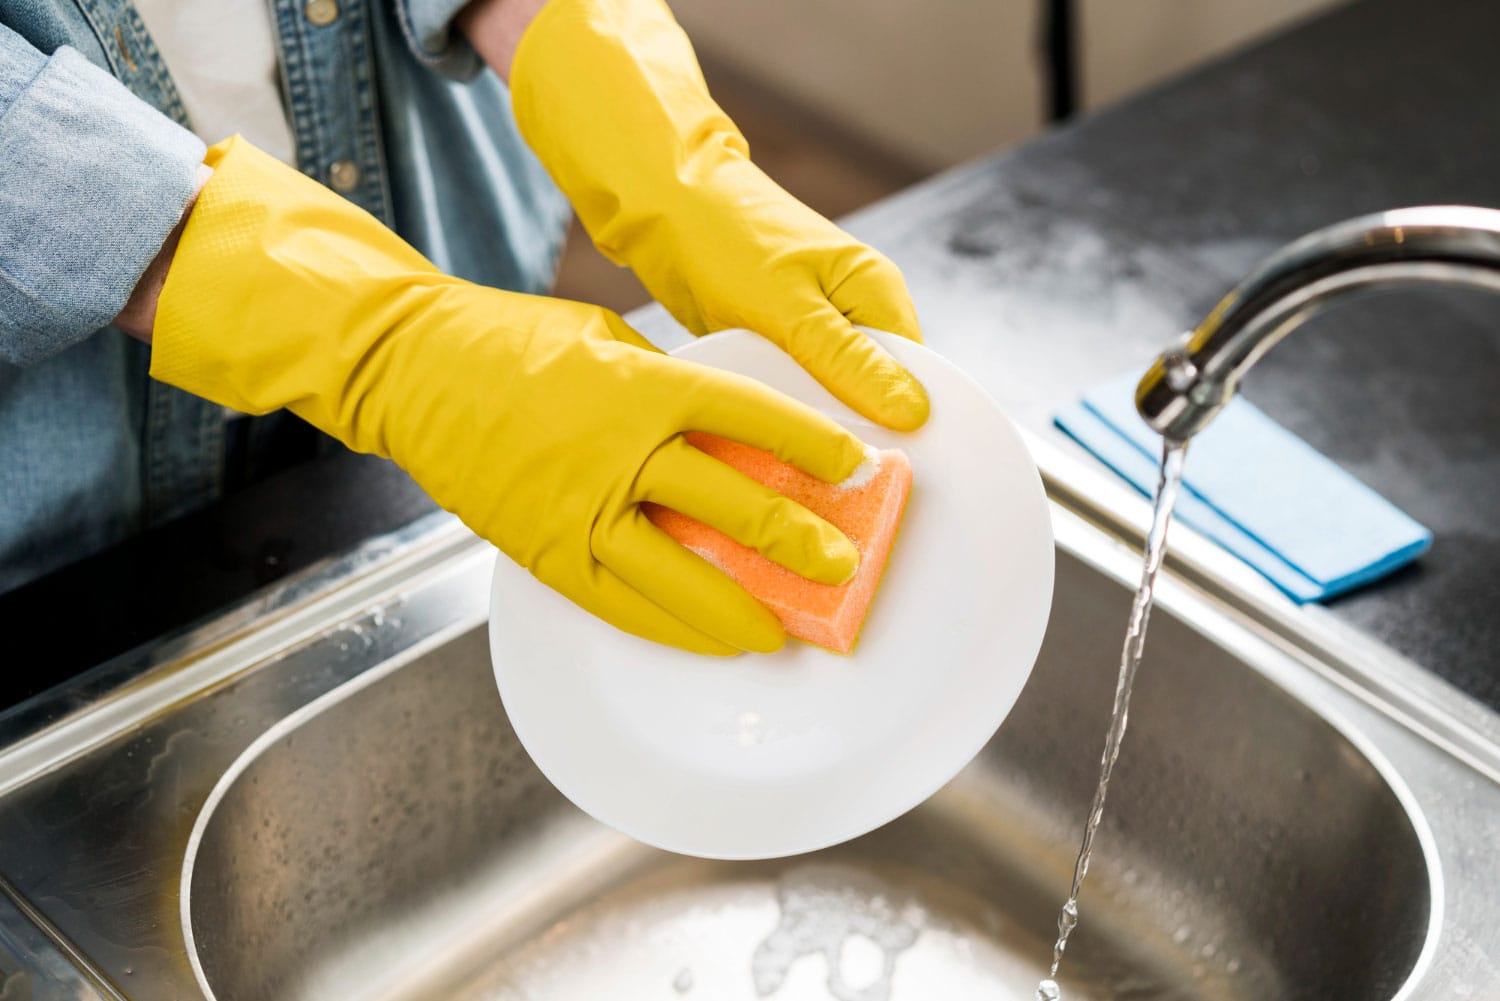
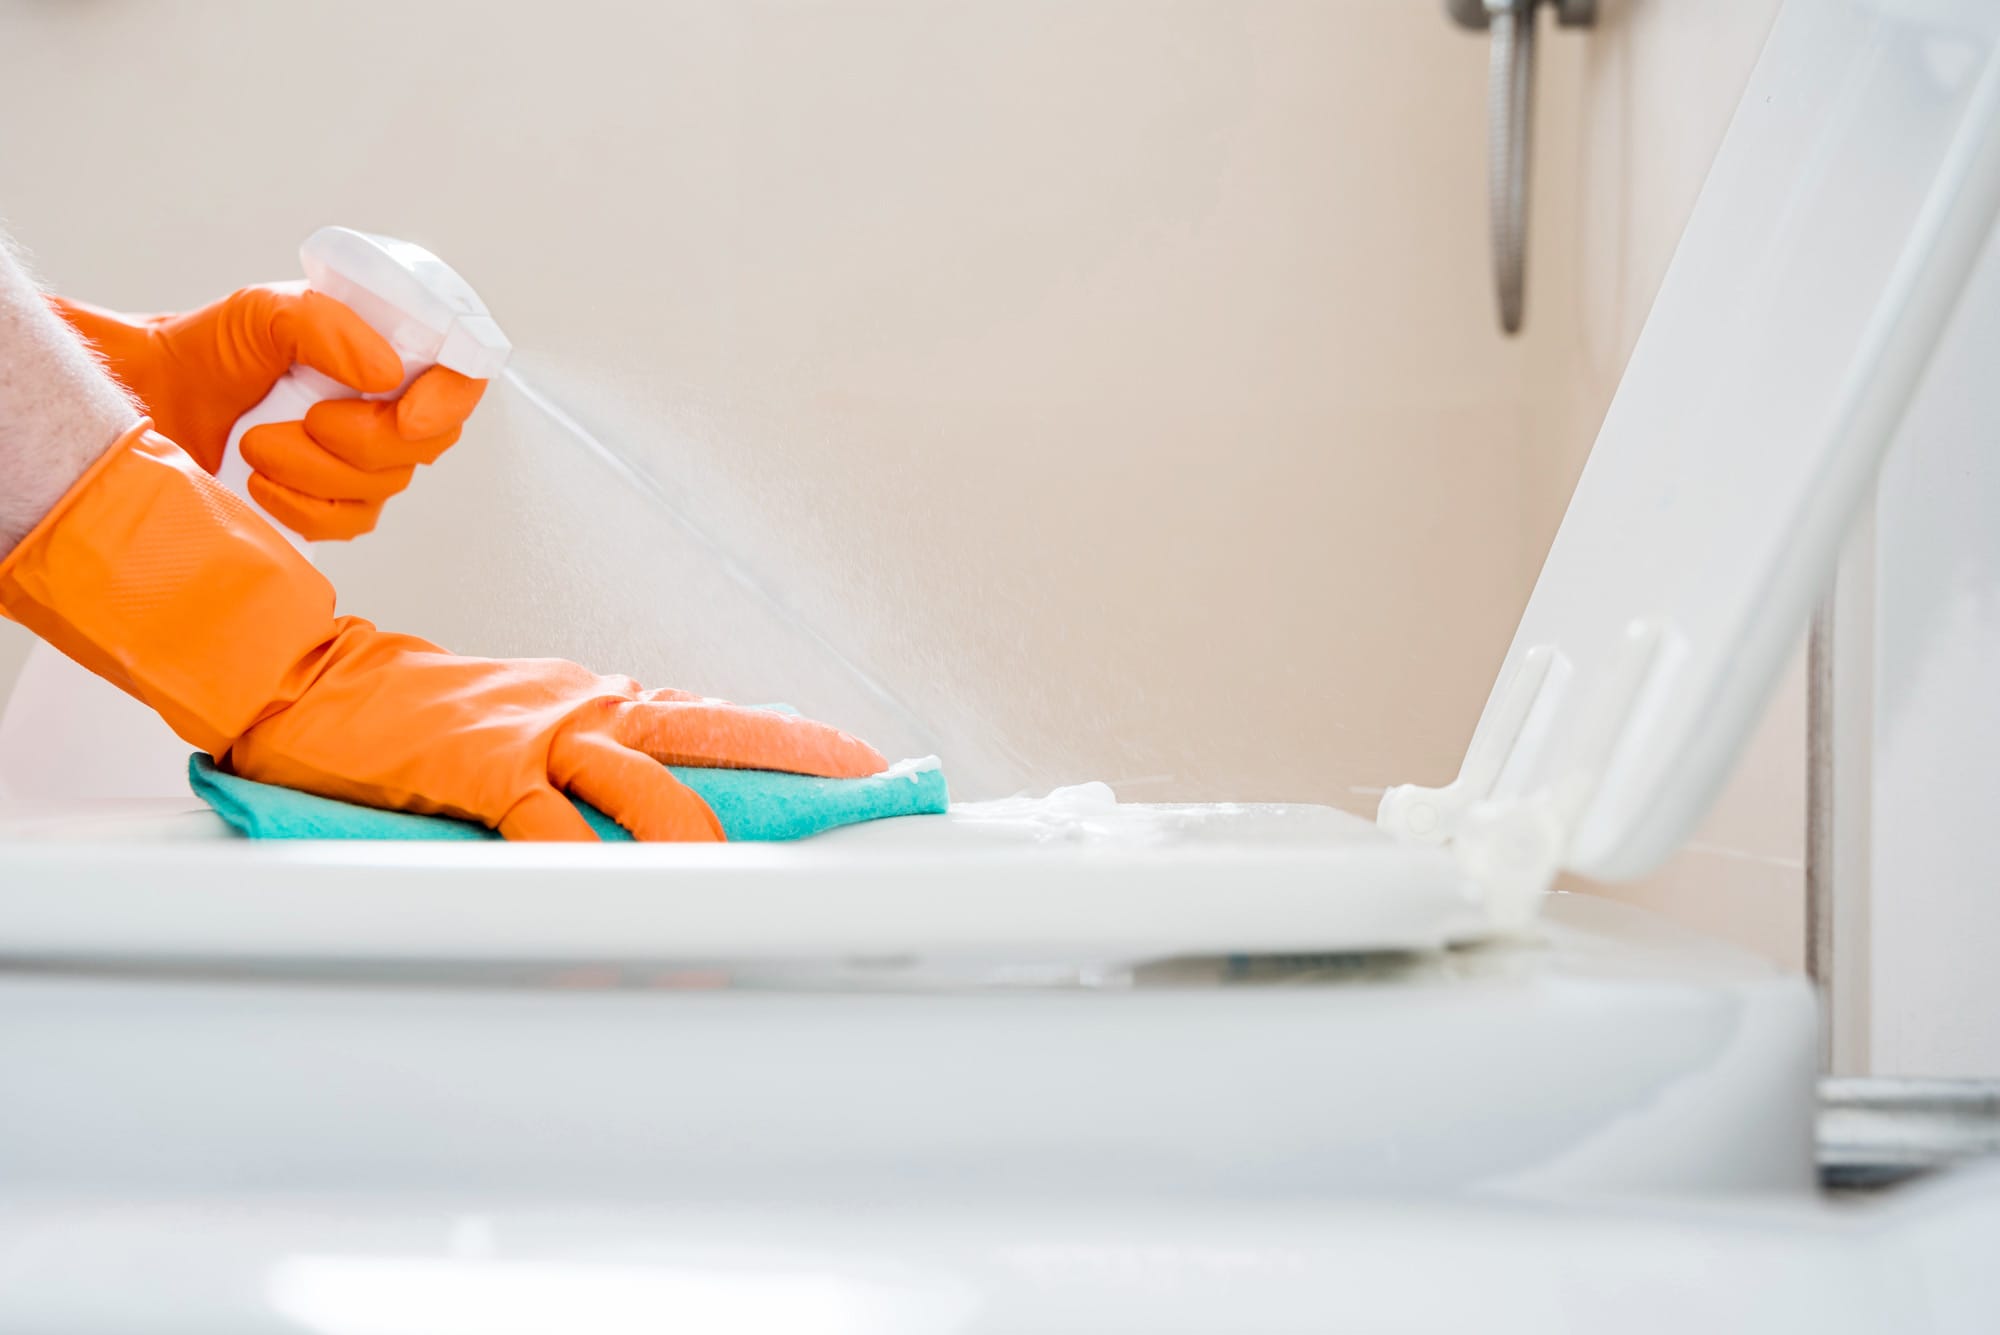
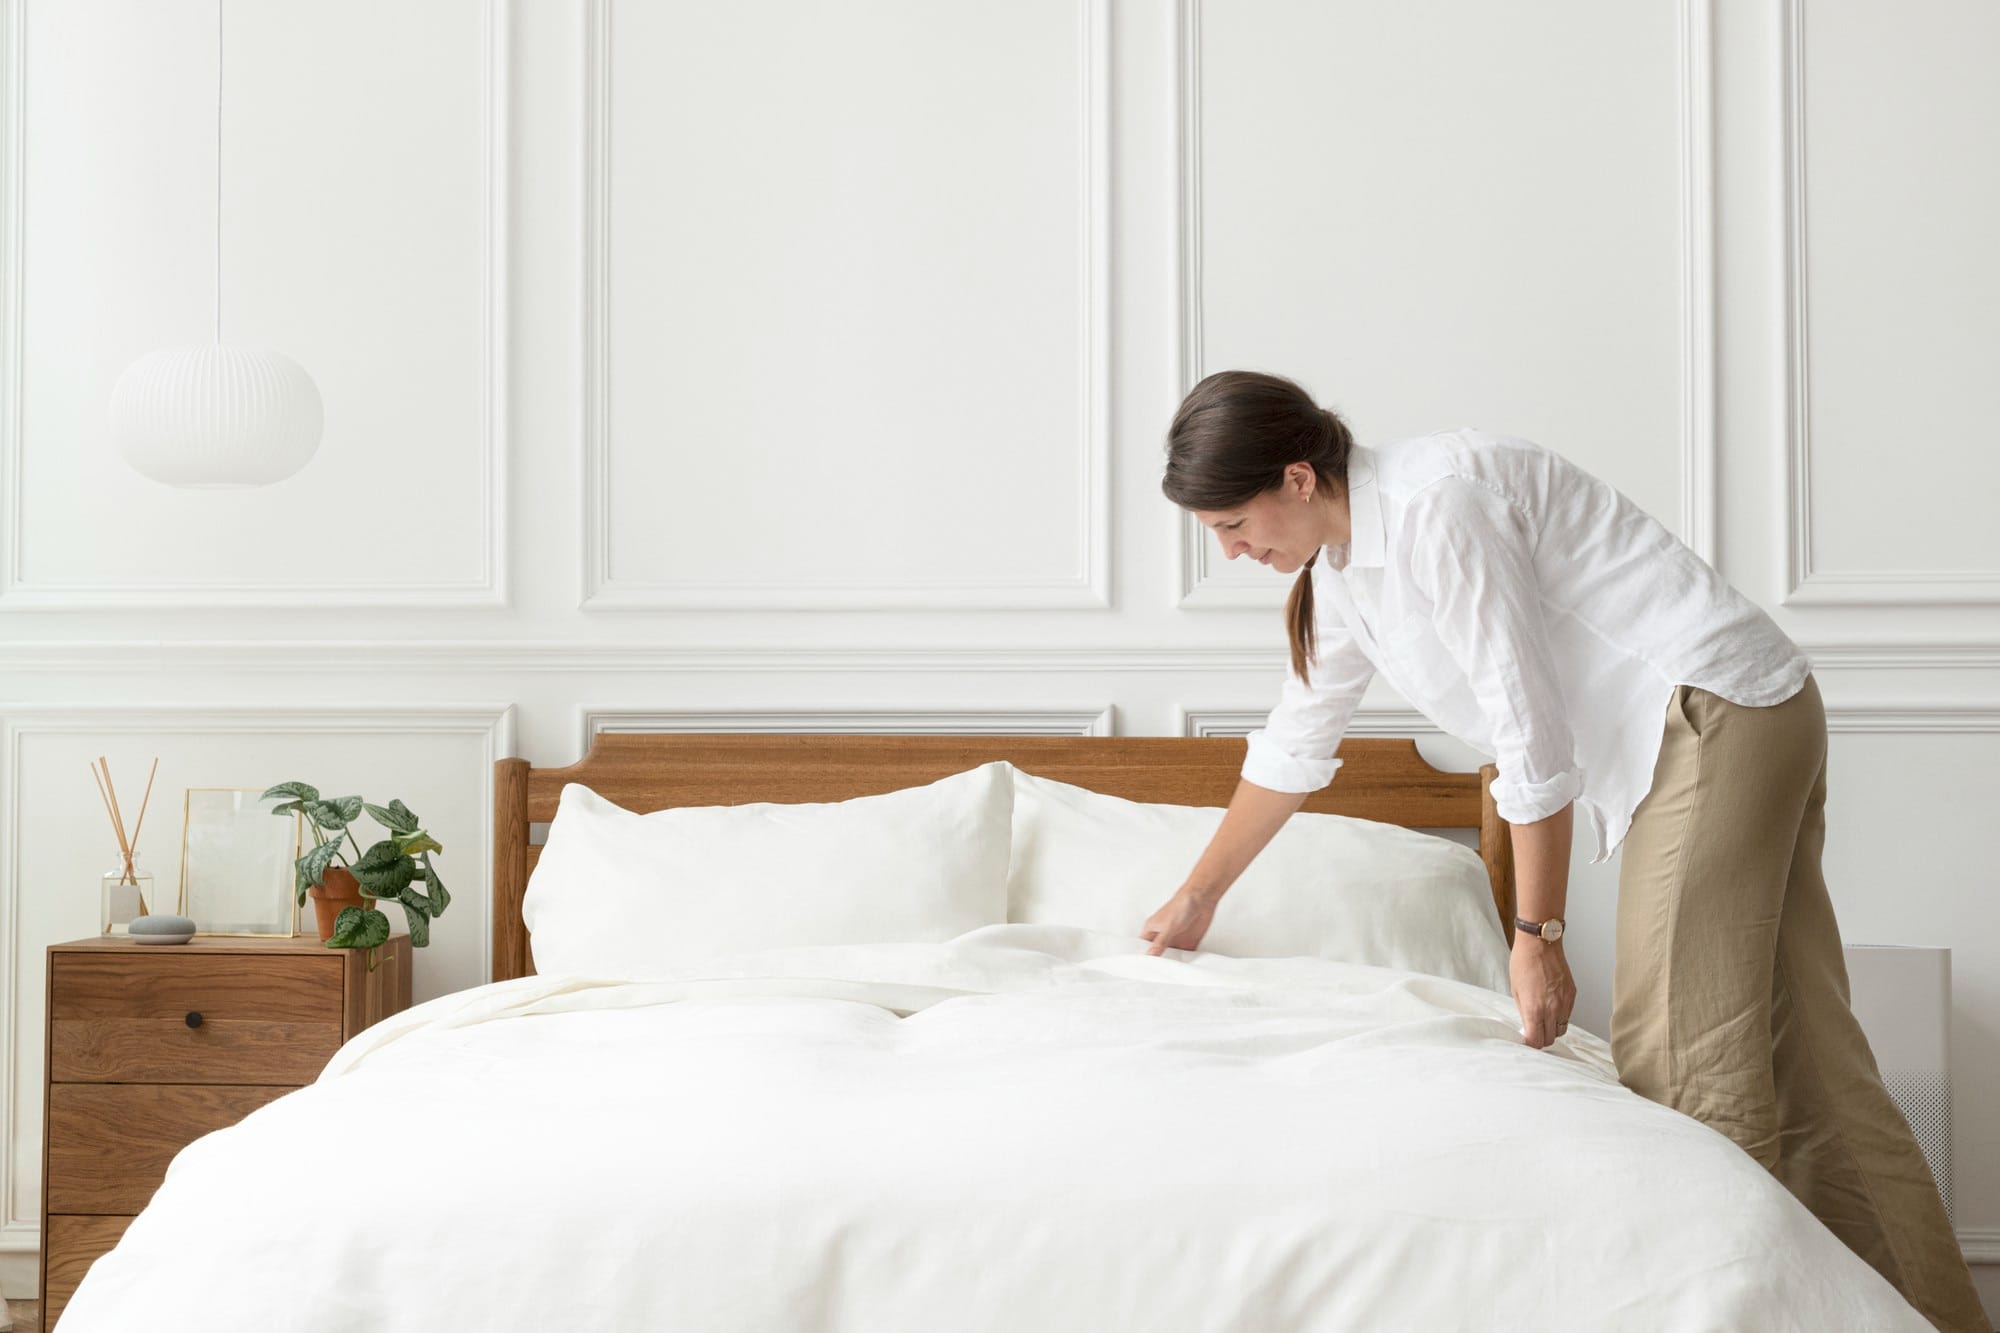
Our post-construction cleaning services are comprehensive and tailored to meet your needs. They are designed to address the unique challenges of newly built or renovated properties. We pay meticulous attention to every detail, offering:

* Cabinets and drawers must be empty or additional costs will apply
** For liability reasons, appliances must be pulled out prior cleaning behind them
+ Available as an ADD-ON to any cleaning
* Cabinets and drawers must be empty or additional costs will apply
** For liability reasons, appliances must be pulled out prior cleaning behind them
+ Available as an ADD-ON to any cleaning
* Cabinets and drawers must be empty or additional costs will apply
** For liability reasons, appliances must be pulled out prior cleaning behind them
+ Available as ADD-ON to any cleaning
* Cabinets and drawers must be empty or additional costs will apply
** For liability reasons, appliances must be pulled out prior cleaning behind them
+ Available as an ADD-ON to any cleaning


Our process goes beyond basic cleaning. We deliver a truly comprehensive, top-to-bottom approach that leaves your space spotless and healthy.
We start by using HEPA-filtered vacuum cleaners to capture even the finest dust particles, allergens, and debris that ordinary vacuums leave behind. This ensures cleaner air and a healthier environment for you and your family.
Next, our trained professionals clean methodically from the ceiling to the floor, following a proven system that prevents cross-contamination and ensures consistent results. Light fixtures, vents, baseboards, and hidden corners all get the attention they deserve.
Our detail-oriented teams finish by inspecting every surface to make sure nothing is missed — leaving your home looking, feeling, and smelling fresh.
Because for us, “clean” isn’t just about appearance — it’s about creating a space where you can breathe easier, live healthier, and feel at ease.
There are a few things we do not offer:
Hire The Best
When it comes to deep cleaning your home, it’s crucial to entrust the task to professionals, experienced and dependable. Homeowners choose No More Chores for its reliable, respected renovation cleaning services.

Post-construction cleaning is the thorough cleaning process that takes place after construction or renovation work is completed. It involves removing dust, debris, and construction materials to make the space safe, clean, and ready for use.
Professional cleaners have the necessary tools, experience, and equipment to handle the mess left behind after construction. They ensure a deeper, more thorough cleaning that might be difficult to achieve on your own.
The duration of post-construction cleaning depends on the size of the space and the extent of the work completed. Generally, it can take anywhere from a few hours to a full day.
Our post-construction cleaning covers all surfaces, floors, windows, fixtures, and every room from top to bottom. See the full task breakdown in the checklist above.
Yes, we use environmentally sustainable cleaning products that are safe for your family, pets, and the environment, without compromising on cleanliness or effectiveness.
We can come in as soon as the trades are done and the space is safe to enter. We do not require a minimum wait time after construction. If drywall compound or paint is still wet, we will flag the affected areas and work around them.
We recommend clearing any large furniture or personal items from the space, but our team brings everything needed to clean the space thoroughly.
Pricing depends on the size of the space and scope of the renovation. Call 647-490-2523 or get an instant quote at nomorechores.com/get-your-price.
Yes, post-construction cleaning is essential for new homes to remove dust, debris, and hazardous materials left behind after construction. It helps ensure your home is safe, healthy, and move-in ready.
Book online in under 60 seconds at nomorechores.com/get-your-price, or call us at 647-490-2523.